- Adjust Brightness and Contrast: Modify the brightness and contrast levels to enhance the visibility and overall look of the image.
- Color Correction and Enhancement: Adjust color tones, hues, saturation, and vibrancy to achieve a desired color scheme or correct color irregularities.
- Crop and Resize: Crop unwanted areas from an image and resize it to fit specific dimensions or aspect ratios.
- Remove Imperfections: Use tools to remove blemishes, spots, wrinkles, or other imperfections from portraits or images.
- Sharpen and Blur: Enhance the sharpness of details or apply blurring effects to create a focal point or artistic effect.
- Remove or Replace Backgrounds: Extract the subject from one background and place it on another or remove the background altogether.
- Clone and Healing: Use clone and healing tools to duplicate or replace parts of an image seamlessly, hiding unwanted elements or distractions.
- Add Text and Typography: Incorporate text, captions, or stylized typography into the image to convey a message or provide context.
- Overlay Graphics or Elements: Superimpose additional graphics, shapes, icons, or illustrations onto the image to enhance its visual appeal.
- Combine Multiple Images: Blend or merge multiple images to create a composite image, mixing different elements for a specific purpose.
- Apply Filters and Effects: Add artistic or creative effects using filters, presets, or specialized techniques to alter the appearance of the image.
- Red-Eye Removal: Correct the red-eye effect caused by flash photography, making eyes appear more natural.
- Add Frames and Borders: Place decorative frames or borders around the image to enhance its presentation.
- Convert to Black and White or Sepia: Change the image to black and white or sepia tones for a classic or artistic look.
- Adjust Saturation and Hue: Modify the intensity and color hues within the image to achieve a particular style or mood.
- Enhance Sharpness and Clarity: Increase the sharpness and clarity of the image to make it more visually appealing and focused.
- Correct Distortion and Perspective: Fix distortions or adjust the perspective to make the image more geometrically accurate or aesthetically pleasing.
- Merge HDR Images: Combine multiple exposures of the same scene to create a High Dynamic Range (HDR) image with improved tonal range and details.
Turn this…

into this…

or this…

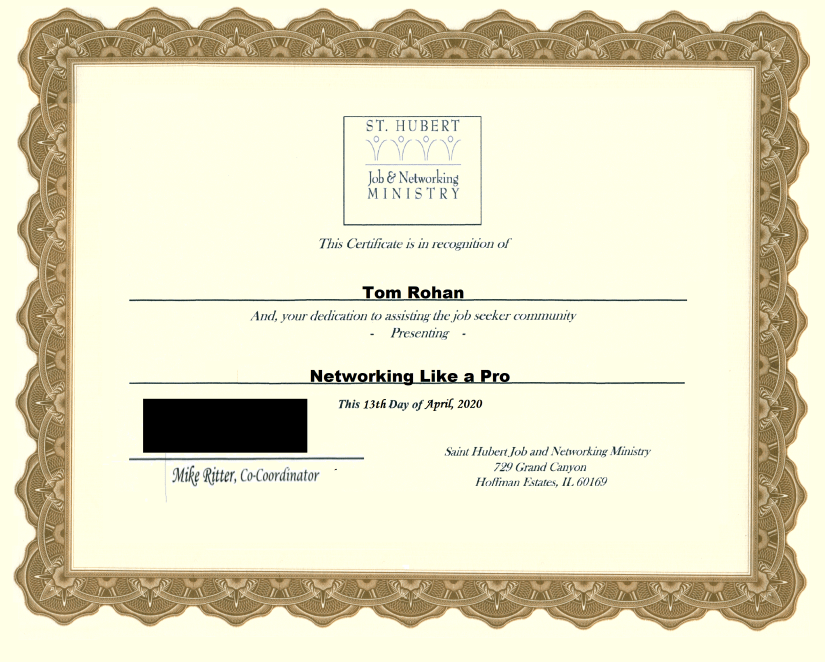
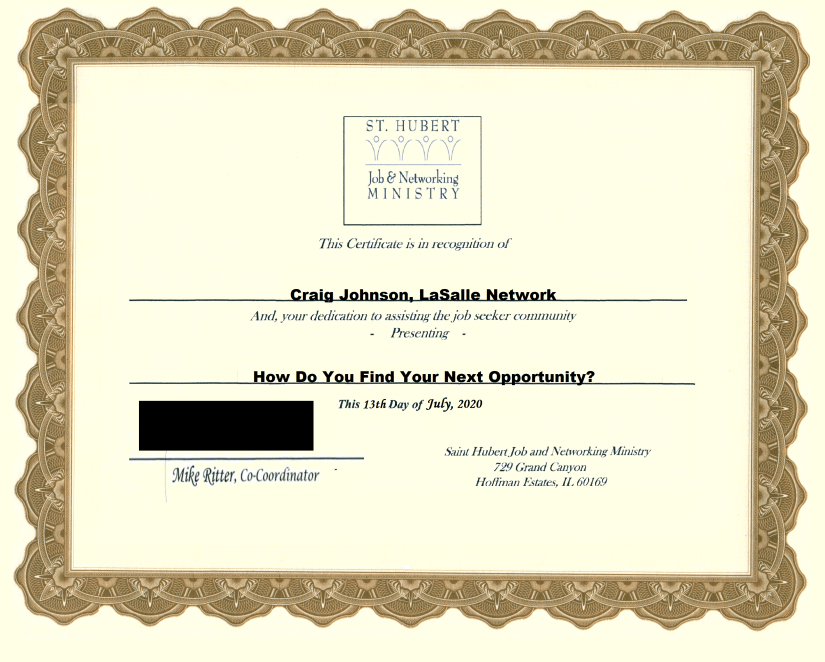
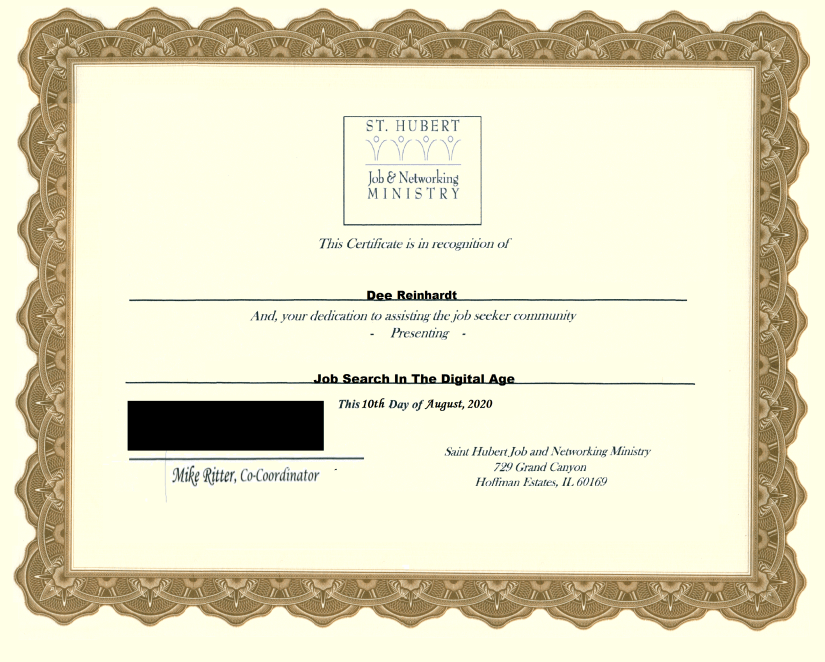
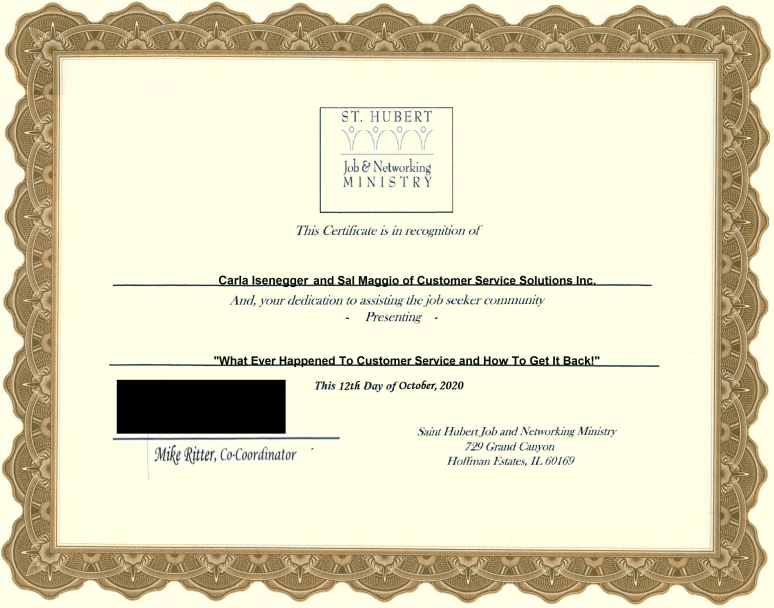
Digital Certificates for St. Hubert Job & Networking Ministry Presenters: